
Embarking on a Journey of Online Course Creation with ChatGPT
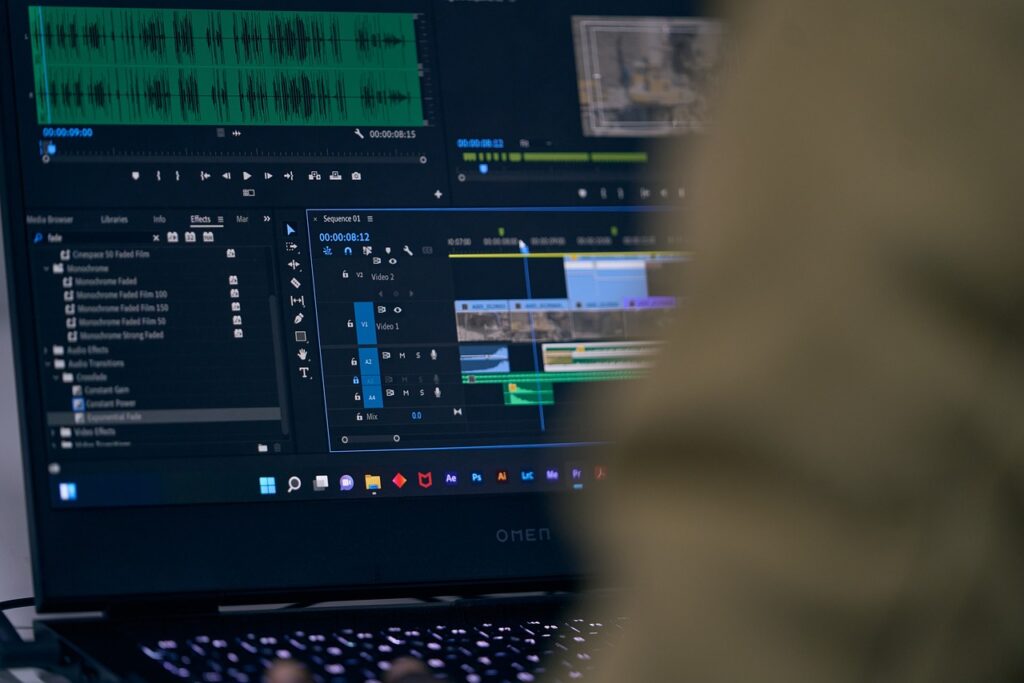
As I’ve mentioned in my previous posts, my journey of “learning by doing” has taken a new turn with the development of an online course focused on automating Excel tasks using ChatGPT. As a finance professional, it felt natural to blend my expertise with the exciting capabilities of large language models. I am thrilled to share that my course is now live on Udemy, and I am eagerly awaiting my first student!
A Deep Dive into the Technical Aspects of Course Creation
Creating an online course from scratch involves a fair bit of technical setup. I decided to tackle this challenge head-on, and I’d like to share the specific tools and processes I used, hoping to help others looking to create their content. Here’s how I managed the technical side:
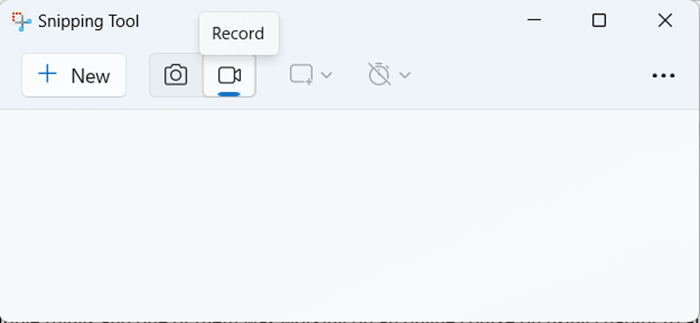
Screen Recording:
The first tool you’ll need is something to record your screen. I chose not to record myself, focusing instead on the screen content. For this, I used the Snipping Tool available in Windows. It’s simple: just type “Snipping Tool” into the Windows search bar, open the application, and select the “Record” option. Then, choose the part of the screen you wish to record. Once your recording is complete, save the video file which now contains your screen actions and audio.
Capturing Clear Audio:
For audio, I utilized two free tools. The first is Krisp, a noise cancellation AI software that significantly reduces background noise.
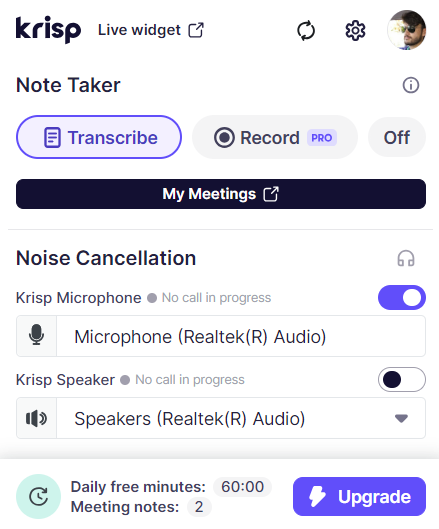
The free version offer 60 minutes of daily recording which is awesome. After installing Krisp, it operates over your laptop’s microphone. When you begin recording your screen, simply select the Krisp microphone within your recording settings to ensure clean audio capture.
The second tool is Audacity, an audio editing software. This is where I polished the audio tracks after recording. Audacity is user-friendly and effective for enhancing audio quality, especially if you’re using a basic laptop mic, i will share the specific details below.
Editing the Video:
For video editing, I used Clipchamp, another free tool offered by Windows. Right-click the video file saved from your screen recording, select “Edit with Clipchamp,” and you’ll access a straightforward editing interface. Here, you can cut clips, adjust sequences, and enhance the video’s overall quality. To improve the audio further, I detached the audio from the video in Clipchamp by clicking on the “Audio” button on the right-hand side, which shows the “Detach audio” option.
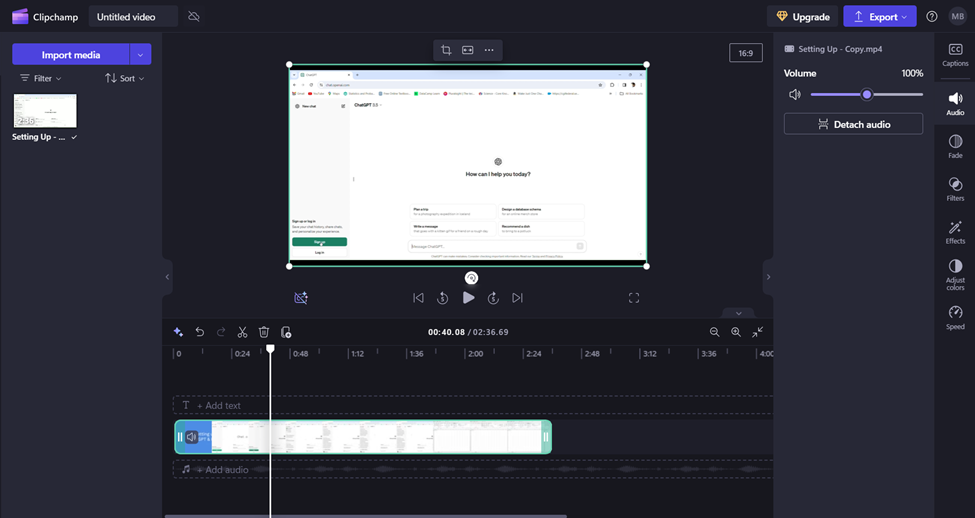
After detaching the audio, I exported it and opened it in Audacity.
I played the track to assess the quality, then selected the entire audio file (Ctrl+A), navigated to “Effect > Volume and Compression > Compressor,” .
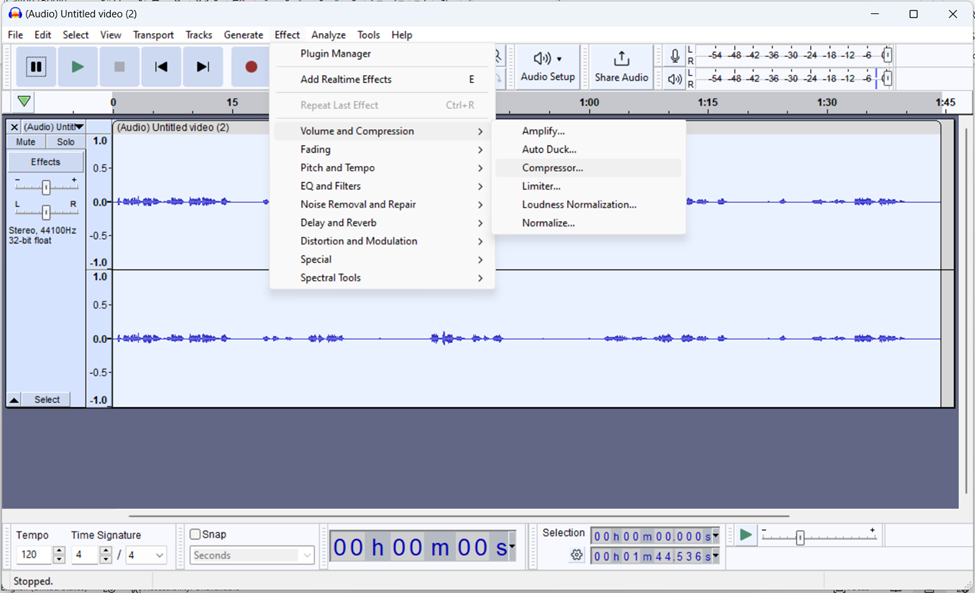
Adjusted the following settings in the compressor option, previewed it, and applied the changes.
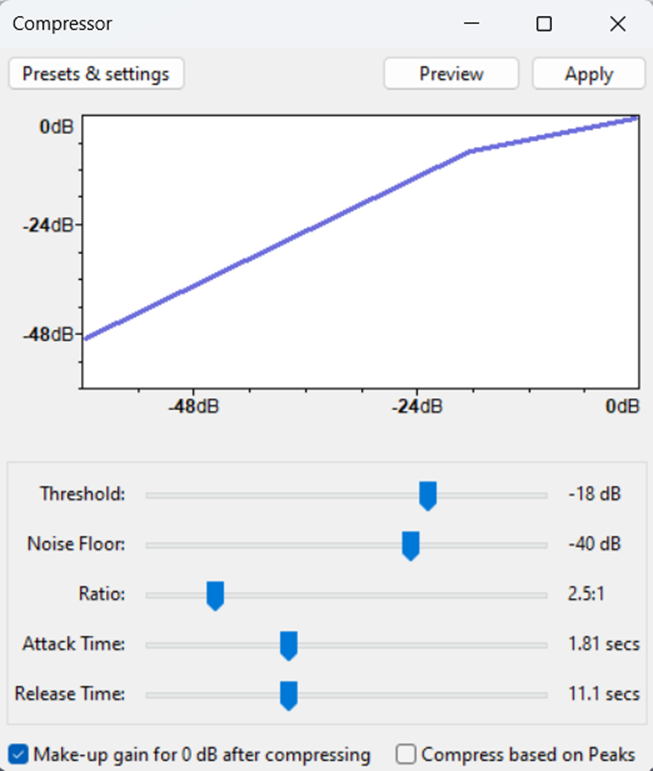
This significantly uplifted the audio quality. Once the audio was enhanced, I re-imported it into Clipchamp, synchronized it with the video, and exported the final edited version of my course video, ready for upload.
Check Out My Course and Stay Tuned for More
Check out the introductory part of my course and see the sound and editing quality. Remember, this is my first-ever course, so I’m learning and improving as I go. Your feedback would be greatly appreciated!
In my upcoming blog, I will discuss how to generate and structure content for your course and how to effectively use ChatGPT for uploading content to educational platforms. Stay tuned for more insights!